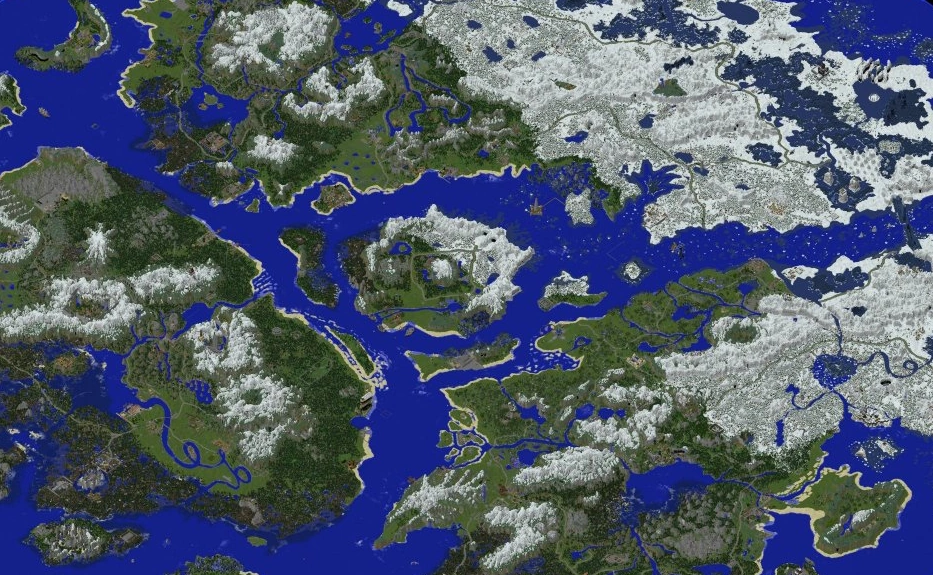
Dynmap is an amazing plugin that has been around for a very long time. It allows you to view a live map of your Minecraft server that is very similar to something like Google Earth. What’s even better, it is available for modded servers as well! Additionally, as it is a plugin, installing this takes minimal effort, but you will need a few things before getting started. Check the list below:
- The plugin files (Download from SpigotMC)
- An additional port (Check this article to learn how to do that)
Installing Dynmap
Installing Dynmap is very easy. Log into the Oddblox control panel and select your server. Download the plugin from the provided link, and upload it using the panel’s File Manager. Make sure it is in your Plugins folder. After making sure the plugin is fully uploaded, restart your server. Once your server is back online, head back into the Plugins folder, and look for a new folder called “dynmap”. If this folder does not show up, try restarting your server again.
Setting up Dynmap
Editing the Dynmap configuration can be a scary task, as there are a lot of options that you can tweak, but in this tutorial, we will only be changing 1 item. Using Control+F, search for “webserver-port”, and update the port to the one you got from support. Save the file and restart your server.
Using Dynmap
After you boot up the server, put your server’s IP in your browser’s address bar, followed by the port. It should look something like this http://123.45.6.78:9101 (This is an example, it does not show an active Dynmap install!). You should be taken to something that looks like the picture below (Picture below is from the Massivecraft wiki)
